TIP Workbench Installation
- Craig Gallen [Administrator] (Unlicensed)
JOSIF Main Page | TIP Workbench Installation
The TIP Workbench installer significantly speeds up the process of getting started with JOSIF. It installs an eclipse instance with tigerstripe and a number of other tools already installed.
The alternative to using the Workbench installer is to follow all of the steps in Setting Up Environment. Some developers may still wish to follow these manual steps because they already have an eclipse installation which they want to use as their starting point. However most people will be happy to use the installer.
Prerequisites
A valid Java JDK is needed to install the TIP Workbench successfully (Not just the JRE shipped with most windows platforms). See Setting Up Environment#Java JDK for installation instructions.
To build any projects you will also need maven installed on your machine. Setting Up Environment#Maven 2
Installer Wizard
The installer wizard can be downloaded from
Open a terminal window and complete the following steps
Step 1: Starting up the installer
java -jar TIP_Workbench_Installer.jar
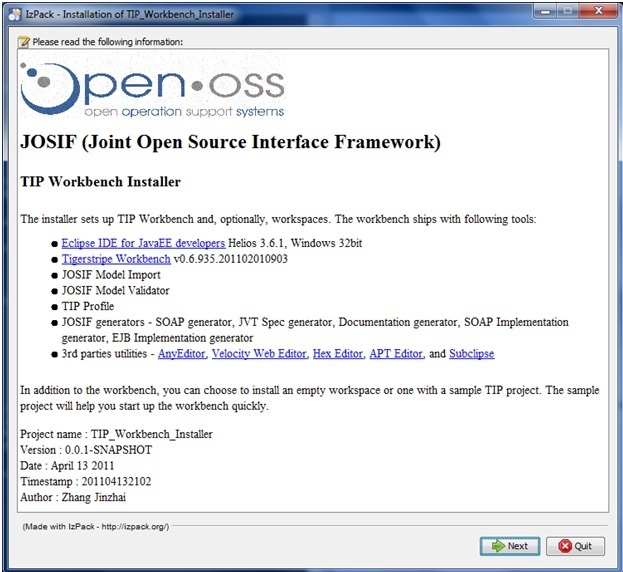
Step 2: Introduction to the TIP Workbench Installer.
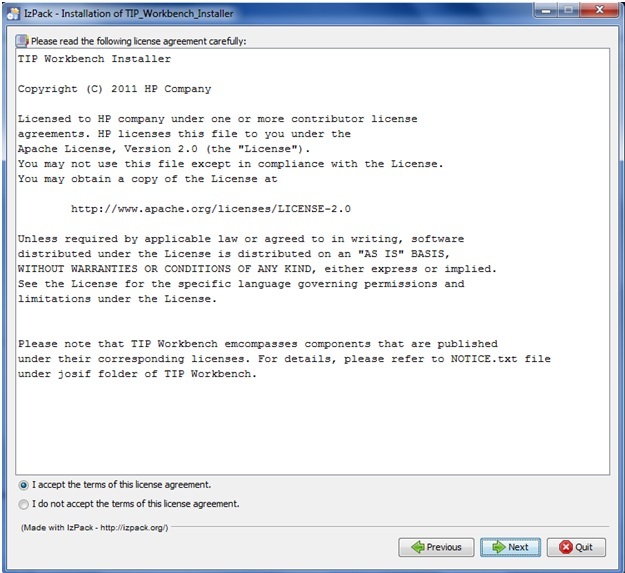
Step 3: Agree the License of the installer itself
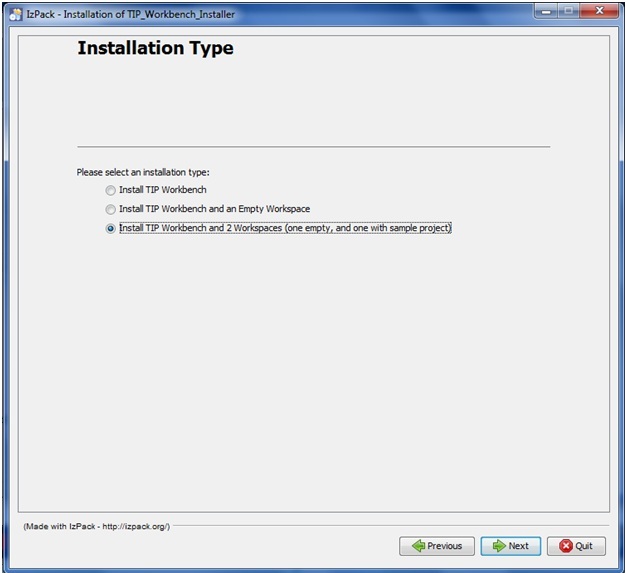
Step 4: Choose installation type: (the first choice is the default)
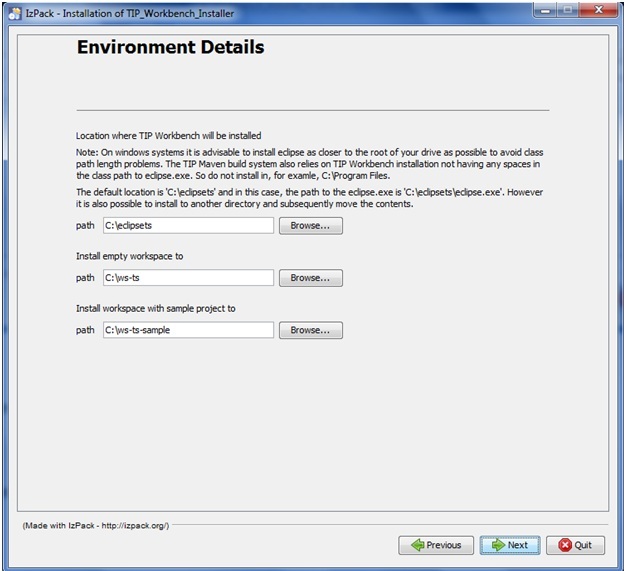
Step 5: User input panel
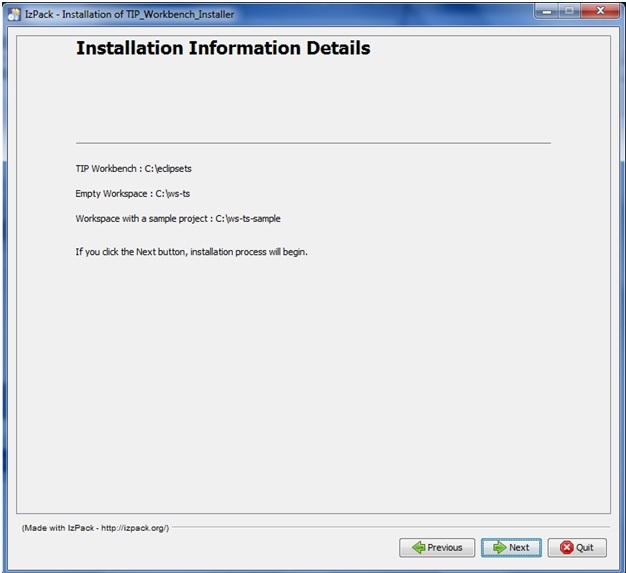
Step 6: Confirm user input data
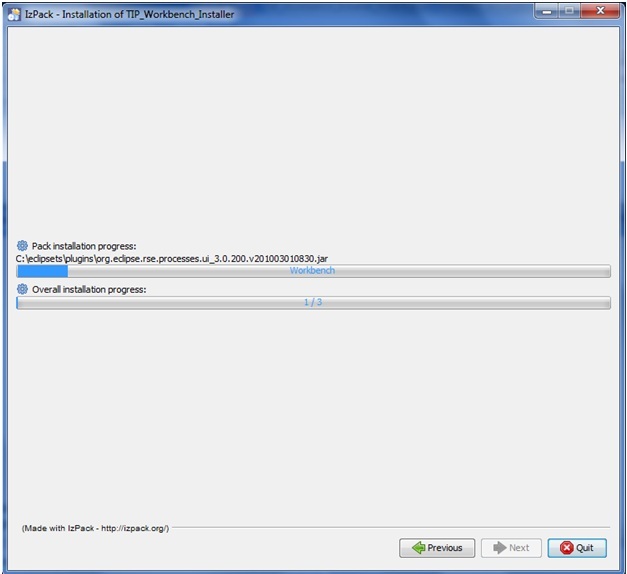
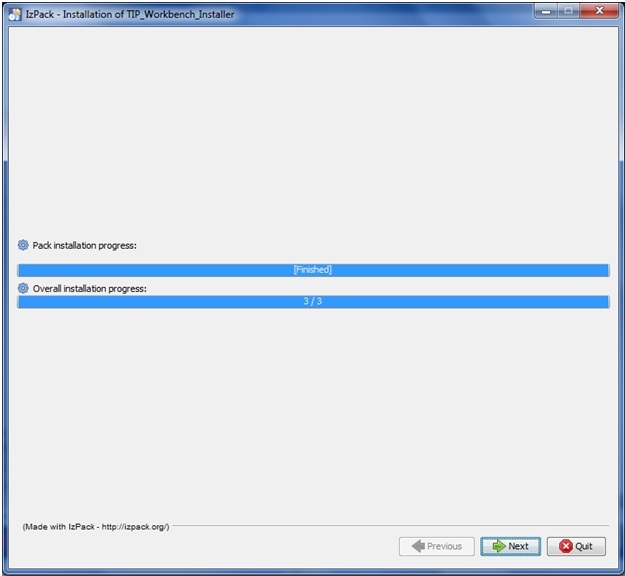
Step 7: Installation in progress
Additional Steps
TestNG Plugin
The TestNG Eclipse plug-in has not been included in the standard install. We suggest using the update site: http://beust.com/eclipse
Select Help / Software updates / Find and Install.
Search for new features to install.
New remote site.
For Eclipse 3.4 and above, enter http://beust.com/eclipse.
Make sure the check box next to URL is checked and click Next.
Eclipse will then guide you through the process.
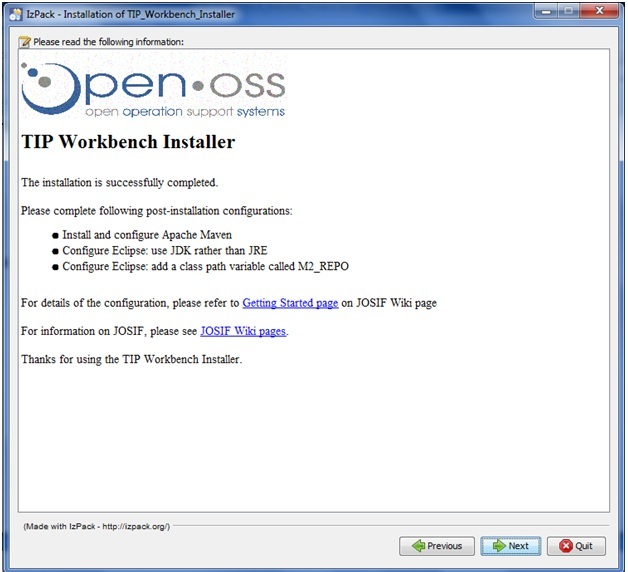
Step 8: Notify post-installation configuration and give links to more information